
First things first. This is not the ‘professional’ method you’d see in a major puppet shop or TV studio. This guide is designed to show you how to make fun, affordable DIY Puppet Eyes Ping Pong Balls at home. Whether you’re crafting your own characters or building puppets with your kids. It’s how I got started, and I still love the charm these simple ping pong ball eyes add to any homemade puppet.
When it comes to puppets, one thing all the pros agree on: the eyes are everything.
As Jim Henson said,
“The eyes are the most important part of a puppet — they make it feel alive.”
Why Ping Pong Balls?
They’re cheap, lightweight, easy to paint or decorate, and perfect for kids’ crafts. If you don’t have access to fancy molded puppet eyes, ping pong balls are a great way to learn placement, expressions, and the basics of character building.
Supplies You’ll Need
-
2 ping pong balls
-
Felt and/or fur material (your choice of colors and textures)
-
Black felt dots or a magic marker for pupils
-
Scissors
-
Hot glue gun
-
Flat white spray paint (or any base color you want)
-
Plastic bottle caps (to help when painting)
Step-by-Step: How to Make DIY Puppet Eyes
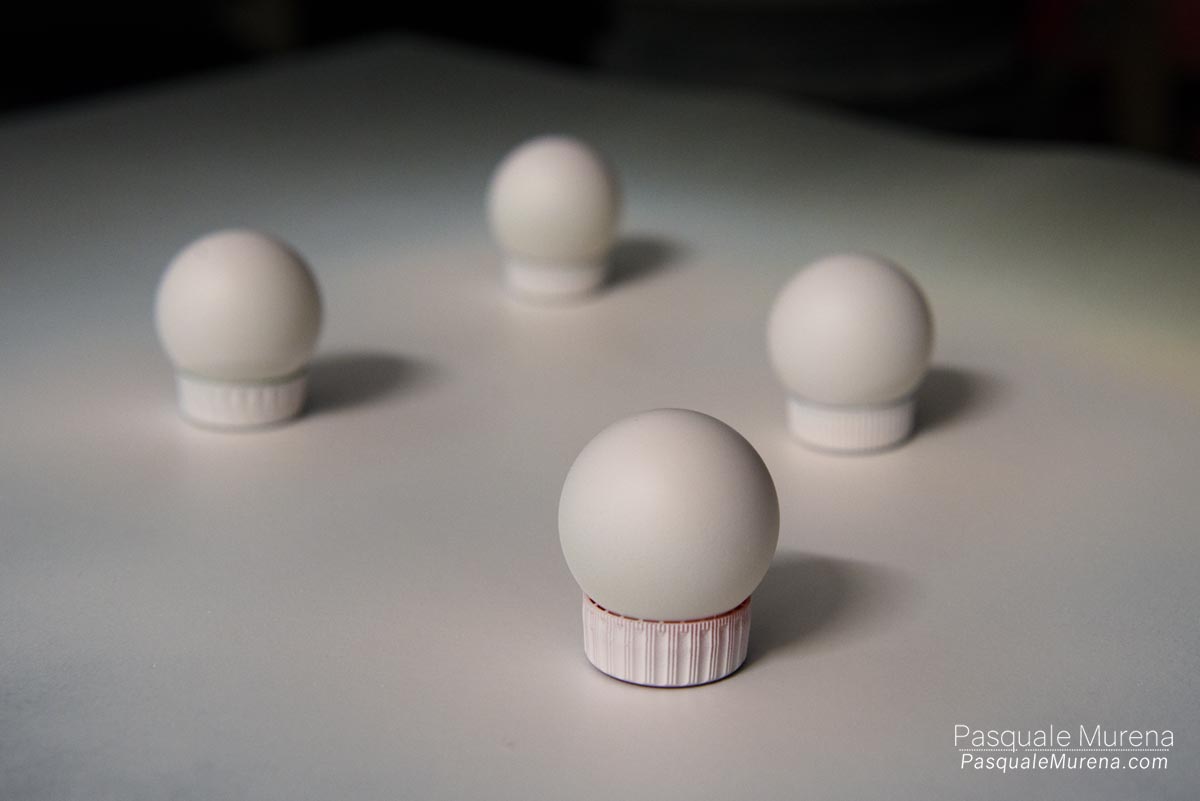
Step 1: Paint the Eyes
Let’s start making your DIY puppet eyes from ping pong balls. Spray paint your ping pong balls in your chosen color. When you’re painting them white, it’s hard to tell if you’ve covered every side — here’s a trick: place each ball on top of a new plastic bottle cap. This keeps it steady and helps you see when you’ve covered the sides. Another tip is that you’ll also notice when the caps are covered.
I usually do two good coats of paint. Depending on how you’ll use the eyes, you might flip the ball and paint the bottom too.
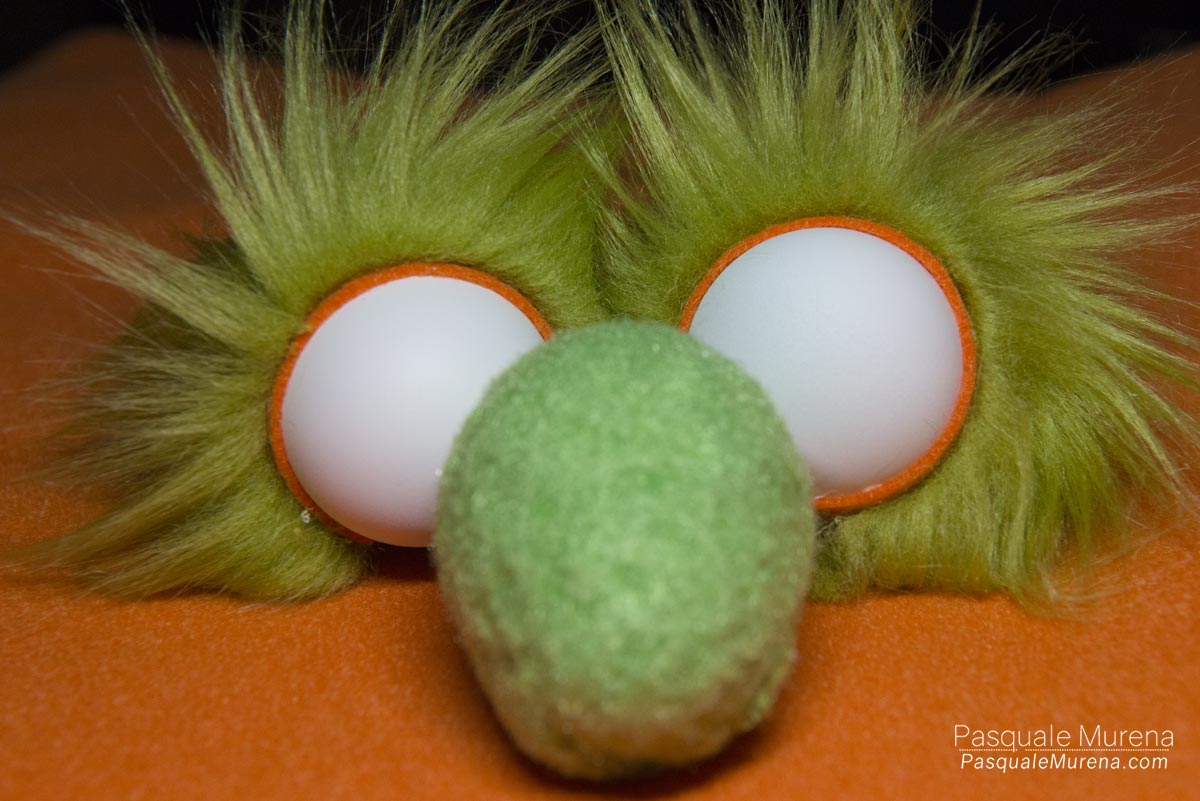
Step 2: Add the Eyelashes
Once the paint is dry, grab the felt you’ll use for the eyelashes. Using two different colors for the lashes and lids gives your puppet’s eyes depth and character. For example, I used orange for the eyelashes to match the puppet’s body and green fur for the eyelids to break up the strong orange.
Cut two strips, about 4″ x 3/16″, in your chosen eyelash color. Wrap each ball with these strips. To keep it straight, put a dab of glue in the center of the strip and attach that part first. Then work your way out to each end.

Step 3: Add the Eyelids
Now add the eyelids! Cut two strips of your main eyelid material, about 4″ x 2″. Glue these on top of the eyelashes, overlapping them slightly.
If you’re using fur, overlap it before attaching to get a clean edge. It really makes the eyes pop!
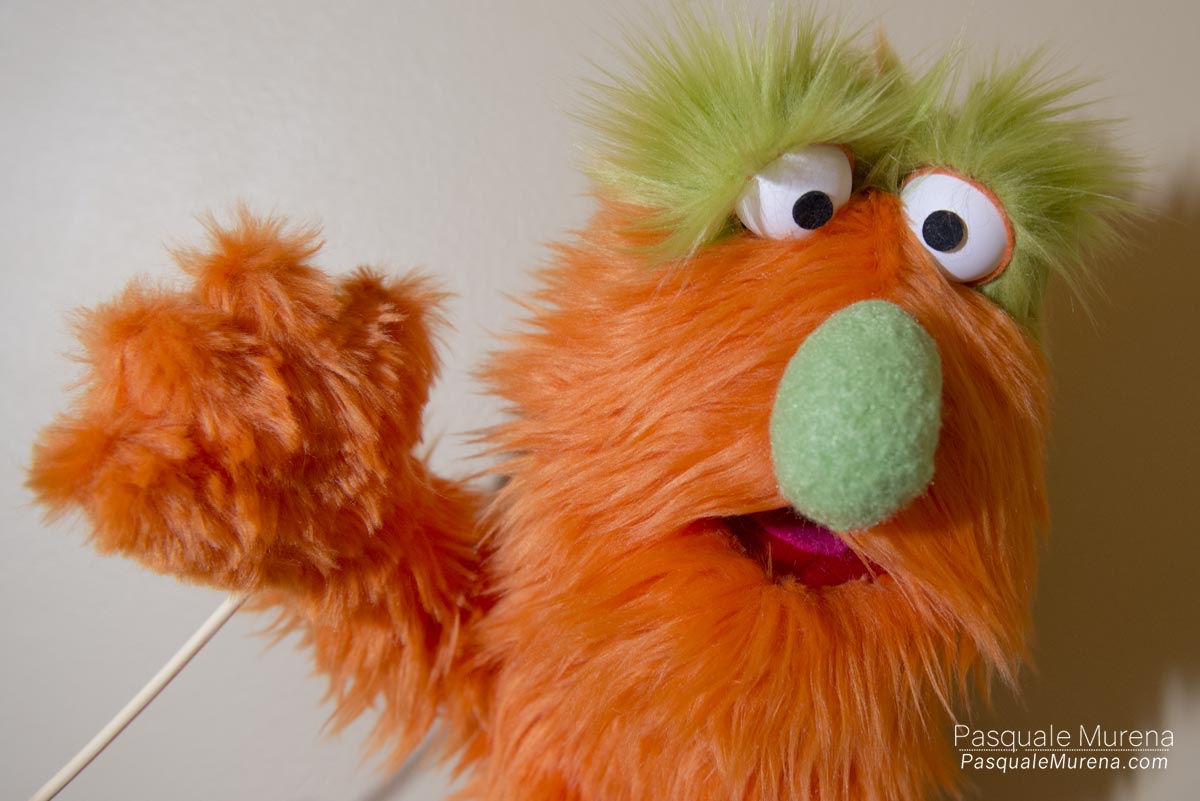
Step 4: Attach the Eyes to Your Puppet
Before you add the pupils, you’ll want to attach the eyes to your puppet’s head. This helps you check your placement, follow the Triangle Rule (see below), and make sure your puppet’s eyes line up just right.
If you’re painting or drawing pupils later, attaching the eyes first means you can adjust the eye line so your character isn’t looking cross-eyed — or off in two different directions!
Pro Tip: Hold the eyes in place first, look at your puppet from all angles, then glue them down once you’re happy with the placement. Now there are better ways to mount your eyes, but we will go over that in another post.
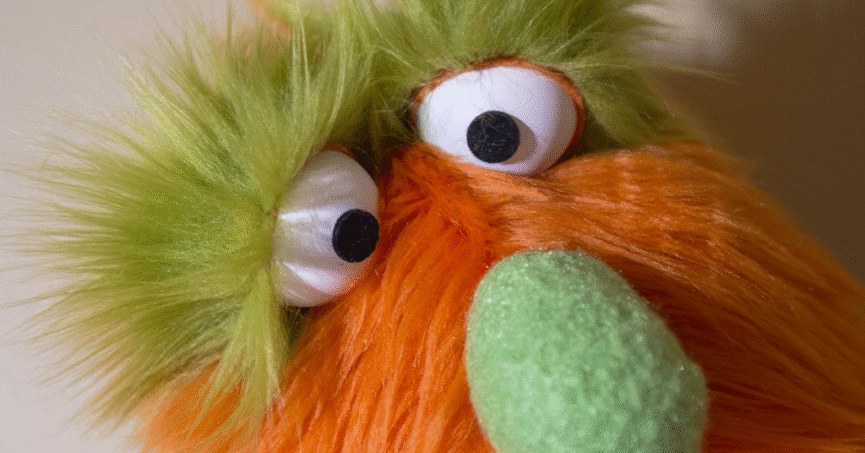
Step 5: Attach the Pupils
Now for the final touch: the pupils! This is where your puppet truly comes alive.
Move the pupils around before you glue — see which direction makes your character look curious, sneaky, sleepy, or surprised. Small changes make a huge difference!
- If you’re using black felt dots, glue them on.
- If you’re drawing them, use your magic marker once the eyes are attached.
- Take your time. Try different positions. Have fun with it.
Like Jim Henson always said,
“The eyes are the most important part of a puppet — they make it feel alive.” So enjoy it!
Another Pro Tip: The Triangle Rule
Frank Oz, who worked alongside Henson for years, said,
“If you get the eyes right, the rest will follow.” One easy placement trick pros use is the Triangle Rule.
Picture an upside-down triangle on your puppet’s face — the eyes are the top two points, the mouth is the bottom point. This makes your puppet feel balanced and expressive. Too wide, too close, or too high? The whole face can look off!
✅ Lightly mark your triangle with a pencil before you glue anything down. A tiny adjustment makes a big difference.
Jerry Nelson, another Muppets legend, said it best:
“The eyes are the window to the puppet’s soul.”
See Puppets in Action on I Spot Santa
If you’d like to see fun, professional puppets in action — and get a dose of holiday cheer while you’re at it — make sure to check out my family-friendly site, I Spot Santa.
For over 15 years, I’ve been writing and producing Christmas sketches there with an amazing team of puppeteers and builders. You’ll find monsters, snowmen, reindeer, and my original character Kent Cook, whom I designed and built myself and still love bringing to life every year.
It’s a great way to see how puppets, big and small, can turn simple characters into holiday traditions — and maybe you’ll even get inspired for your next DIY puppet at home!
Final Thoughts
Puppet eyes don’t have to be fancy to work their magic. Start simple, follow the triangle rule, and remember to have fun. Especially if you’re making these with kids, homemade eyes made with love can bring just as much personality to your characters as the fanciest pro build.
So grab those ping pong balls, fire up that glue gun, and let your puppet’s personality shine!