
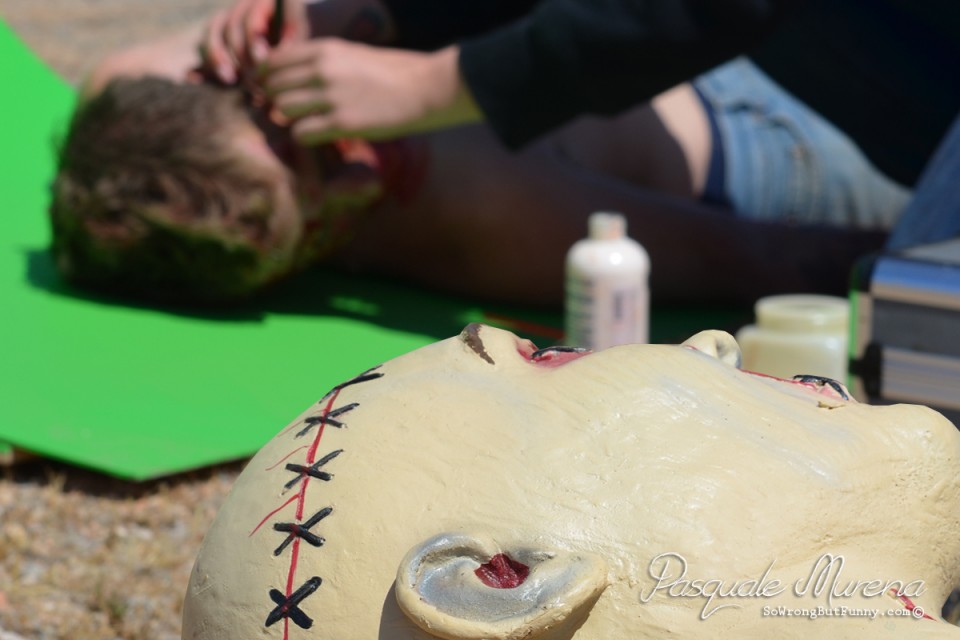
During production of Chip & Bernie’s Zomance I wrote a scene where a zombie’s head is knocked off by a baseball bat and lands on the floor. With no body attached this head was going to still be alive and covered in blood. I immediately knew I needed a different green screen then the cloth material versions I currently owned. I didn’t want to get blood on our green screen and I didn’t want to have any issues of the cloth wrinkling with the actor laying on top of it. This is so we could get a clean key when we brought back the footage into the computer for post-production.
This meant we needed to design a version made of wood that was portable and fit in the back of a pickup truck.
Here is the list of supplies needed:
6: 1″x2″, 8′ long pieces of wood
1: 4’x8′, 1/8″ piece of plywood
1: quart of Green Screen paint
6: 2″ screws
24: 1″ wooden screws
Use the 1″x2″ pieces of wood and your wooden screws. Here are photos of the beams and how you place them together.

Simple braces

You want your screen sturdy
Place your 1/8″ on the top of your beans and screw them down. If using 1/8″ board it will bend easily.
Before we paint the green screen
Lastly paint your green screen with your green paint, the color codes for a chroma key green screen is below. Just bring them the 4 numbers below and give to the clerk at your local hardware store.
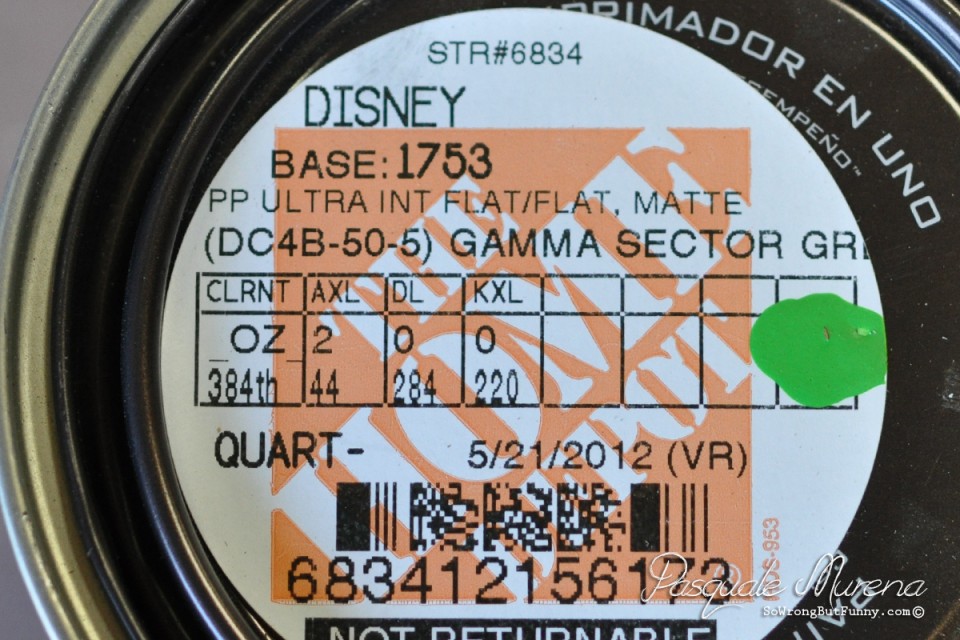
The codes to purchase green screen color at Home Depot
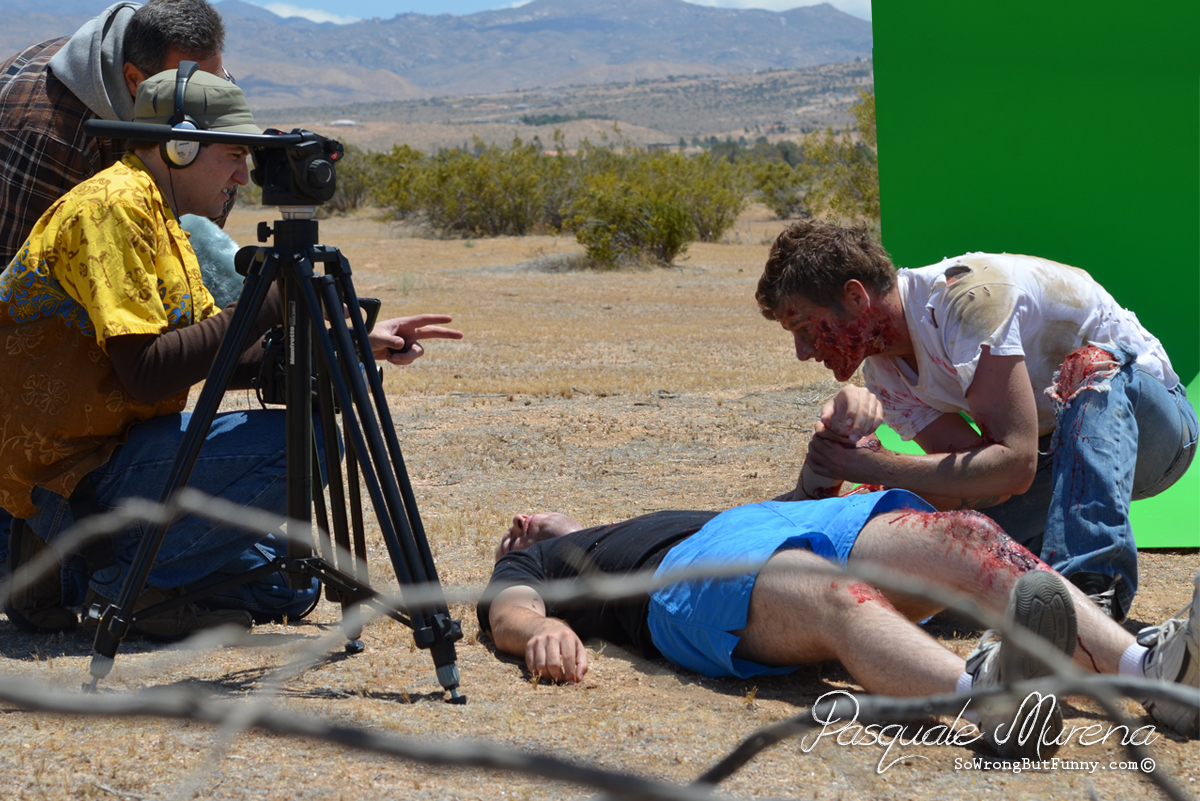
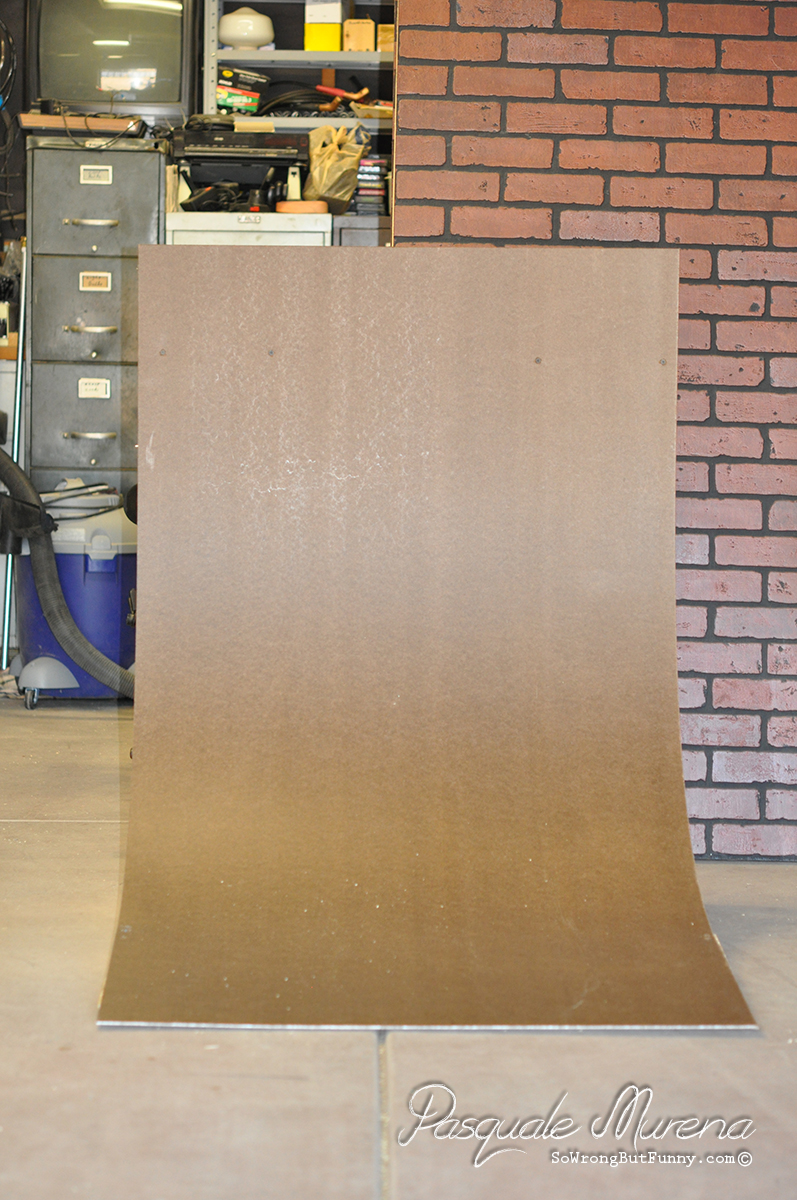
Here is what your green screen looks like when it is done. Easy to move and perfect for outdoor use. Best part about this screen is there is no bends, it is a cyclorama chroma key screen.
On location using the portable green screen
One Comment on “Make Your Own Portable Green Screen”
Very descriptive, thanks for the tips. Going to make some changes but this is helpful. Thank you.